Hello again,
I'm starting this post as a way of sharing my progress on my new Moon Phase Clock build. For starters, I wanted to showoff the hardware kit that came in the mail today. At first, I was contemplating putting this kit of non-printed parts together myself. But I'm so glad I chose to buy Steve's kit instead. So worth the cost, as it would have taken me forever to put together a quality hardware set like this. Shipping was quick, thanks Steve ;-) , and the packaging was perfect. The kit comes with everything, including the correct size drill bits for the arbors. All of the arbors are nicely cut to length and the ends are de-burred. The minute hand arbor is already ground with the needed flat on it. The bearings are already cleaned and de-greased. All of the required springs are included (and shipped on the arbors for protection; clever). The screw package includes flat, pan and socket head fasteners, along with the hex key for the socket heads. And finally, the required fishing line, which is nice, heavy braided (no stretch) line. Nice work on the hardware kit Steve! Only bummer is there was no candy included!


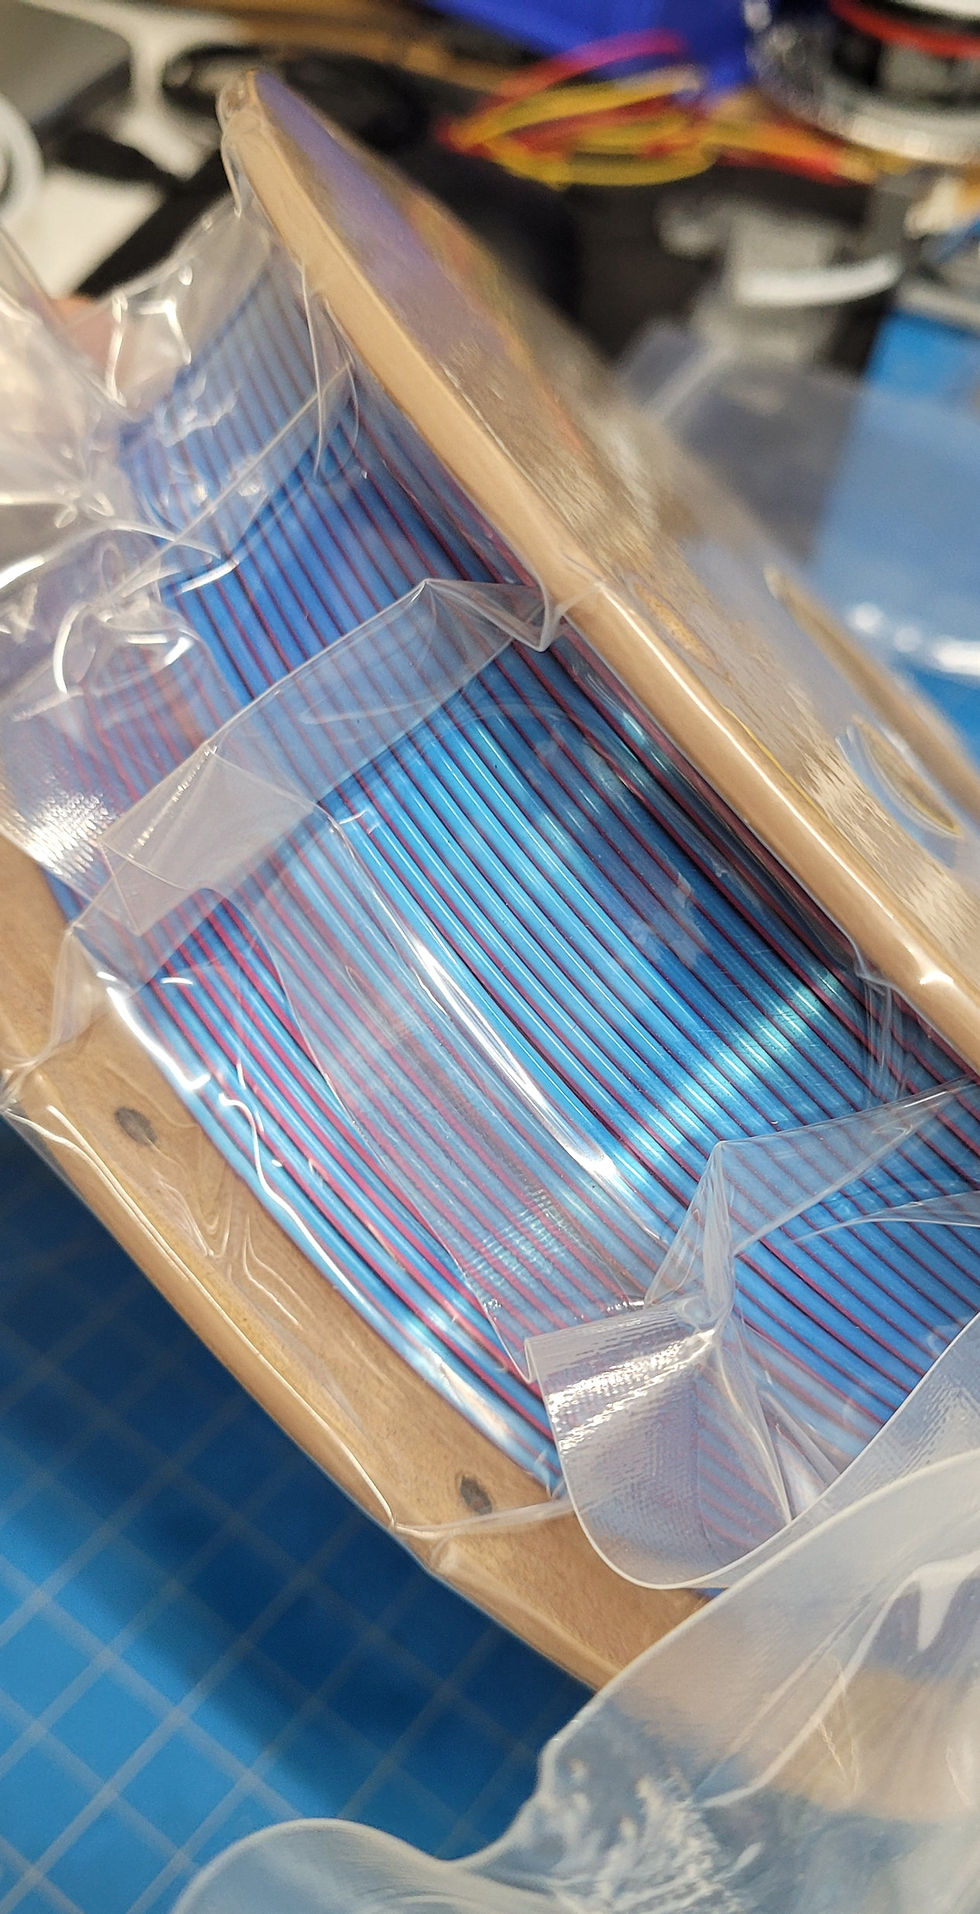
I also received a new spool of Sovol Silk Magic Tri-Color PLA in Blue-Yellow-Fuchsia to try out for the gears. I will report back on how this material performs (and looks). Part of my goal with this choice is to somewhat replicate the look of Steve's gears using the MatterHackers Quantum Blue-Rasberry PLA, which I think is beautiful. But that stuff is expensive, and not sold by Amazon (Prime).


I hope anyone seeing this post will follow along as I attempt to build this beautiful work of a 3D printable clock. I am totally open to any and all comments and suggestions as I go. When I first saw this clock on Youtube, I was so blown away. I just had to have one. Time to start loading some STL files into my Prusa Slicer. More progress to follow.
Cheers!
While I'm waiting for my 3rd gear to print, I thought I would share how my gear printing is going, and also some Prusa Slicer work flow tips that are helping me stay organized. I think my first few gears are coming out incredible. Mostly due to Steve's excellent design for 3D printing practices. Steve, I am impressed. Design for 3D printing was part of my job as a Mechanical Engineer, so I understand what it takes to develop great printing models.
The first image below is a screen grab of one of my gears after slicing. As recommended, I am using the Arachne perimeter generation algorithm, 5 perimeters, and a 0.2 first layer height followed by 0.15 layers. With these settings, I am getting the continuous print paths as recommended for really strong gears with minimal outer imperfections (see video in second image below). The only place I deviated was with the Seam algorithm, which I think I read Random was preferred. But I feel I am getting way better results, as shown below, with Aligned. I dislike the pimply texture that Random produces, and honestly, where those end up on mating gear surfaces I think would cause problems. With Aligned, the seams always end up on an inside corner, and always at the bottom of a gear tooth where it won't affect anything.
And finally, I'd like to share a Prusa Slicer work flow Ive been using that helps me move along faster and stay better organized with progress. The last image shows a screen grab of my current Prusa Slicer Project for the gears. The first thing I do is bring all of the STL files into the one slicer project session, and organize them in order along the top and off the build plate. Having everything in a single project lets me more easily use the same print settings for all of the gears, and helps me avoid mistakes while better tracking progress. All of the files will be listed in the right panel for easy reference. Under View, I turn on Show Labels, which provides a file name badge for each part in the graphics for easy identification. Then, I move each gear onto and off of the build plate, slice, and export. As I complete the printing of each gear, I turn off that corresponding model in the slicer's right panel listing. That serves as a check mark that that gear is done, and changes it's color in the graphics window. I can save the project, close, and pickup right where I left off in subsequent sessions.
I hope these tips are helpful to others.
Cheers!